
This is the main support for the center of the stairwell. It runs from base of the attic, all the way down to one half inch above the basement floor. That's right. It doesn't touch, and therefor, everything is kind of resting on everything else, with nothing taking up the real work. Like a house of cards.
To hang the heavy bag in the workout area of the basement, I have to:
- Support the floor joists for the living room that make up the ceiling of the basement. Before I can get to that, I have to:
- Build a structural support wall, wide enough to support both the main beam and the un-notched portions of the floor joists. To get there, I must first:
- Build a temporary wall of jack posts and headers and, more importantly:
- Cut the side of the basement landing away to make enough room for the new wall. Of course, I'm not ready to do that. First, I need to:
- Reinforce and support the basement landing.
I bought the following:
- 2 - 2x4x12 (pressure treated), cut in half to make 4 - 2x4x6 from the local hardware store
- 1 - 4x4x12 (pressure treated), cut in half to make 2, to use as supports
- 1 - 4x4x8 (pressure treated)
- 1 - 2x4x8 (pressure treated)
- 1 pound of combo head 3-inch deck screws
- Several Coke Zeroes and a handful of candy bars

Next, I cut off the extra bit at the end, that needed to go to make room for the new wall:
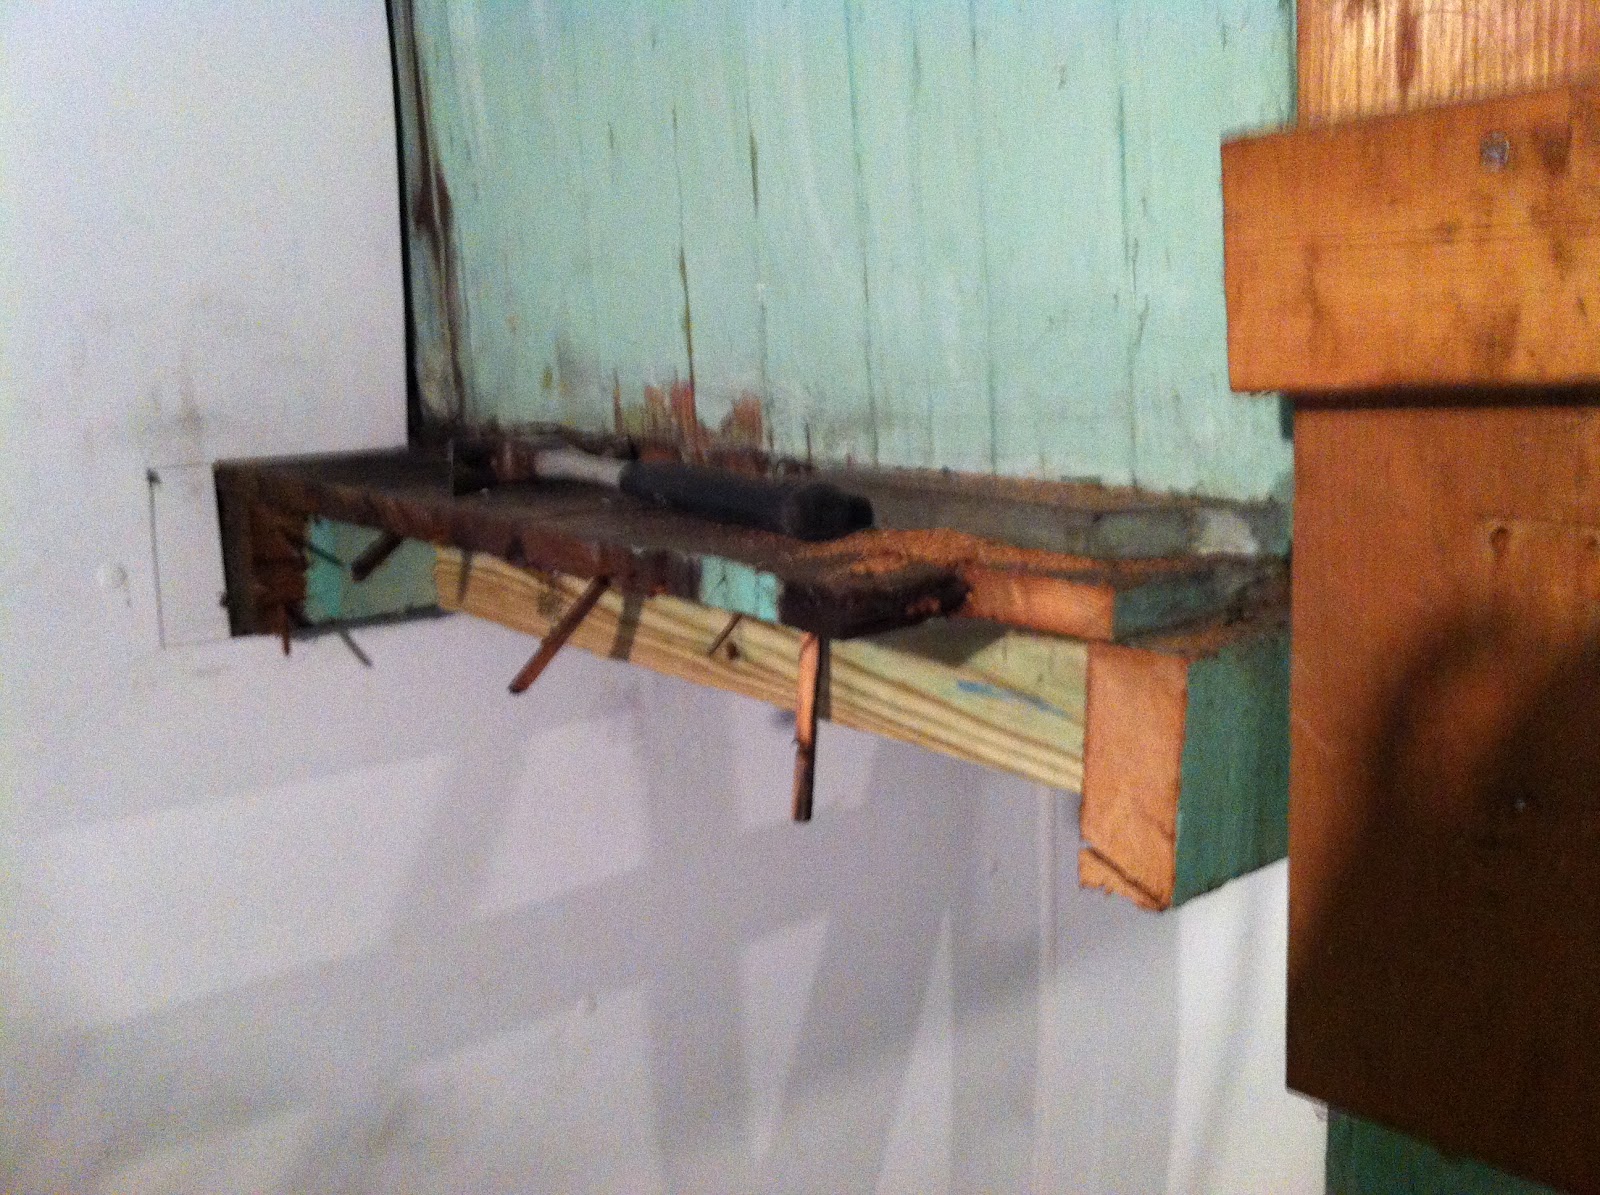
You can see the edge of the 4x4 that I put in for support before the demolition began.
Then I built the wall and set it in place, ready to be hammered home:


Here's where I hit the wall. You see, I didn't just need to put something in place to continue the status quo. No, I needed to lift the whole fucking house. That was easier said than done. Some highlights of fail:
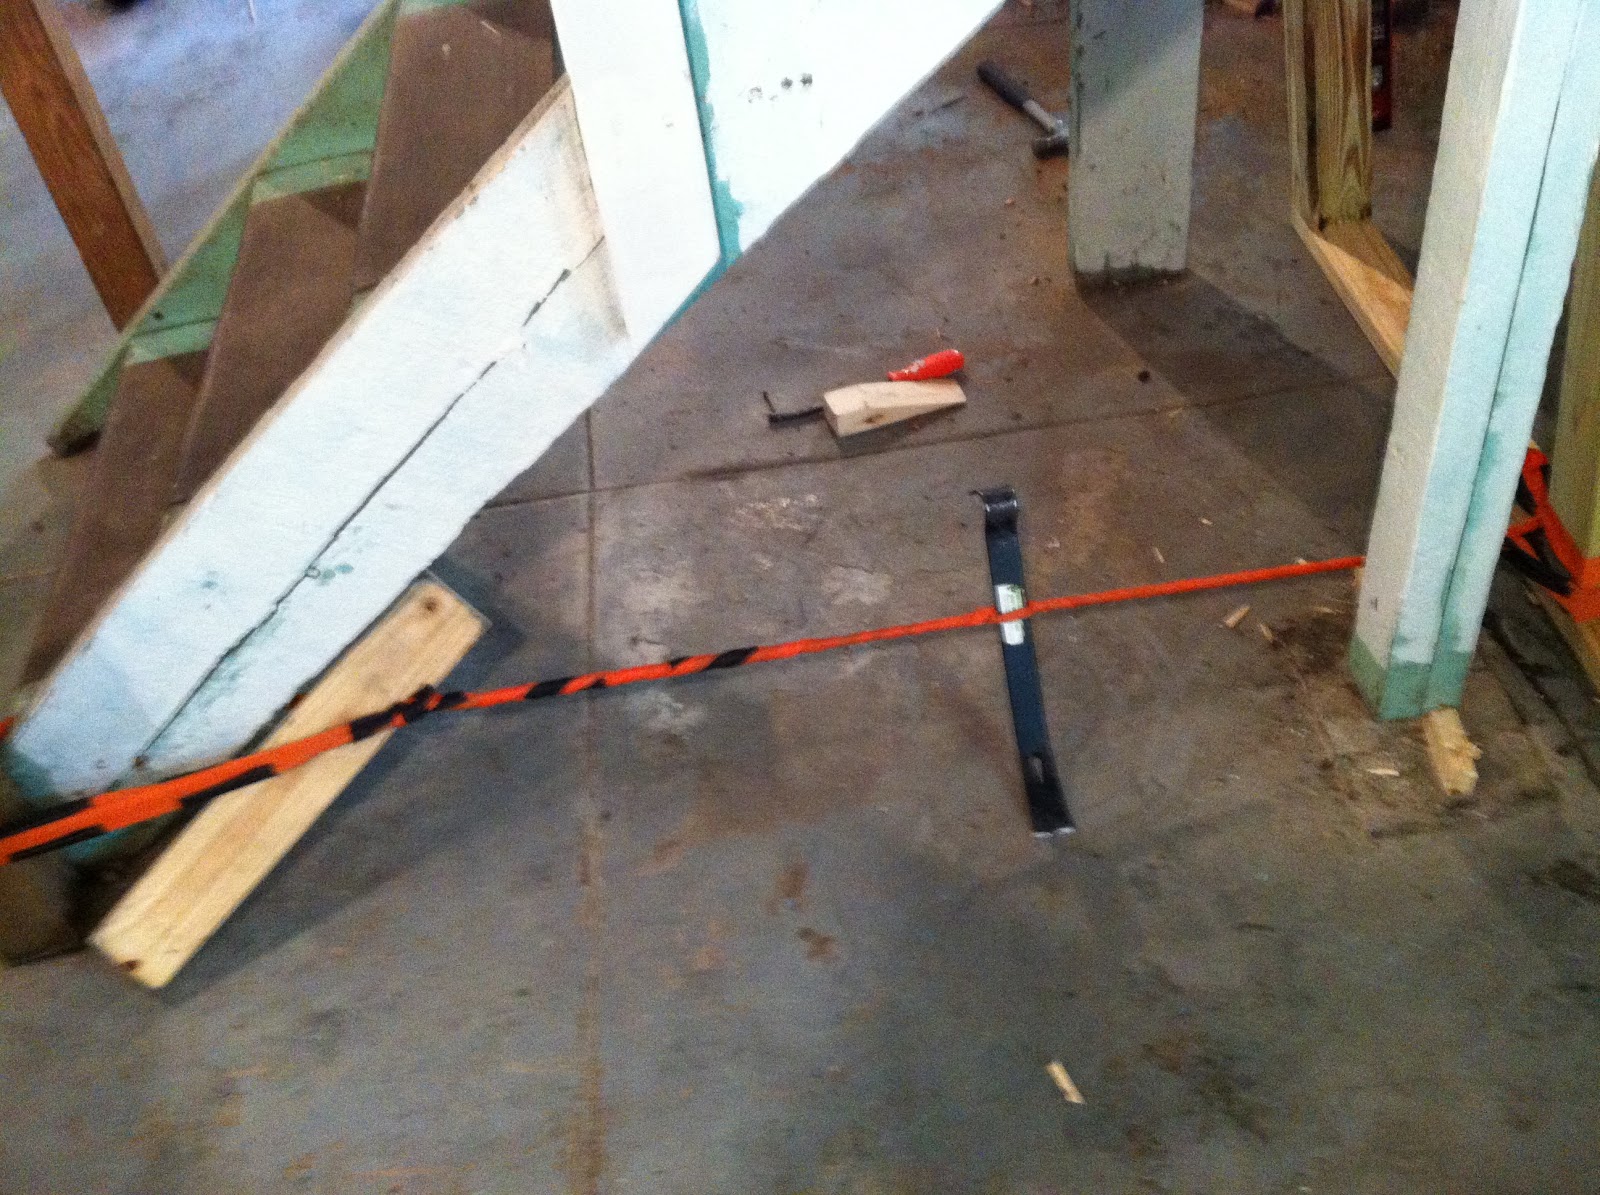
The "twist a strap to force the ends to come together" idea.

The "hammer wedges under the center support to lift the whole thing" method.

My favorite, of course, is the "break the car's jack by doing something it's not intended for and is probably suicidally dangerous" fail.
In the end, I happened upon this:

I went to AutoZone, bought a 12-ton capacity bottle jack, put the support right on the wall I was trying to put in place, and lifted the whole house. It was scary, but it worked. Behold:

For now, everything is secure. And a door on the second floor went from sticking to working, and the one beside it went the other way. But that shows how connected everything is, and why this needed to happen.
The problem is, I haven't secured it yet. It's in place via gravity, friction, and the Dear and Fluffy Lord. But that's for next time. The path is paved, and it's time to build a temporary wall support.
No comments:
Post a Comment